
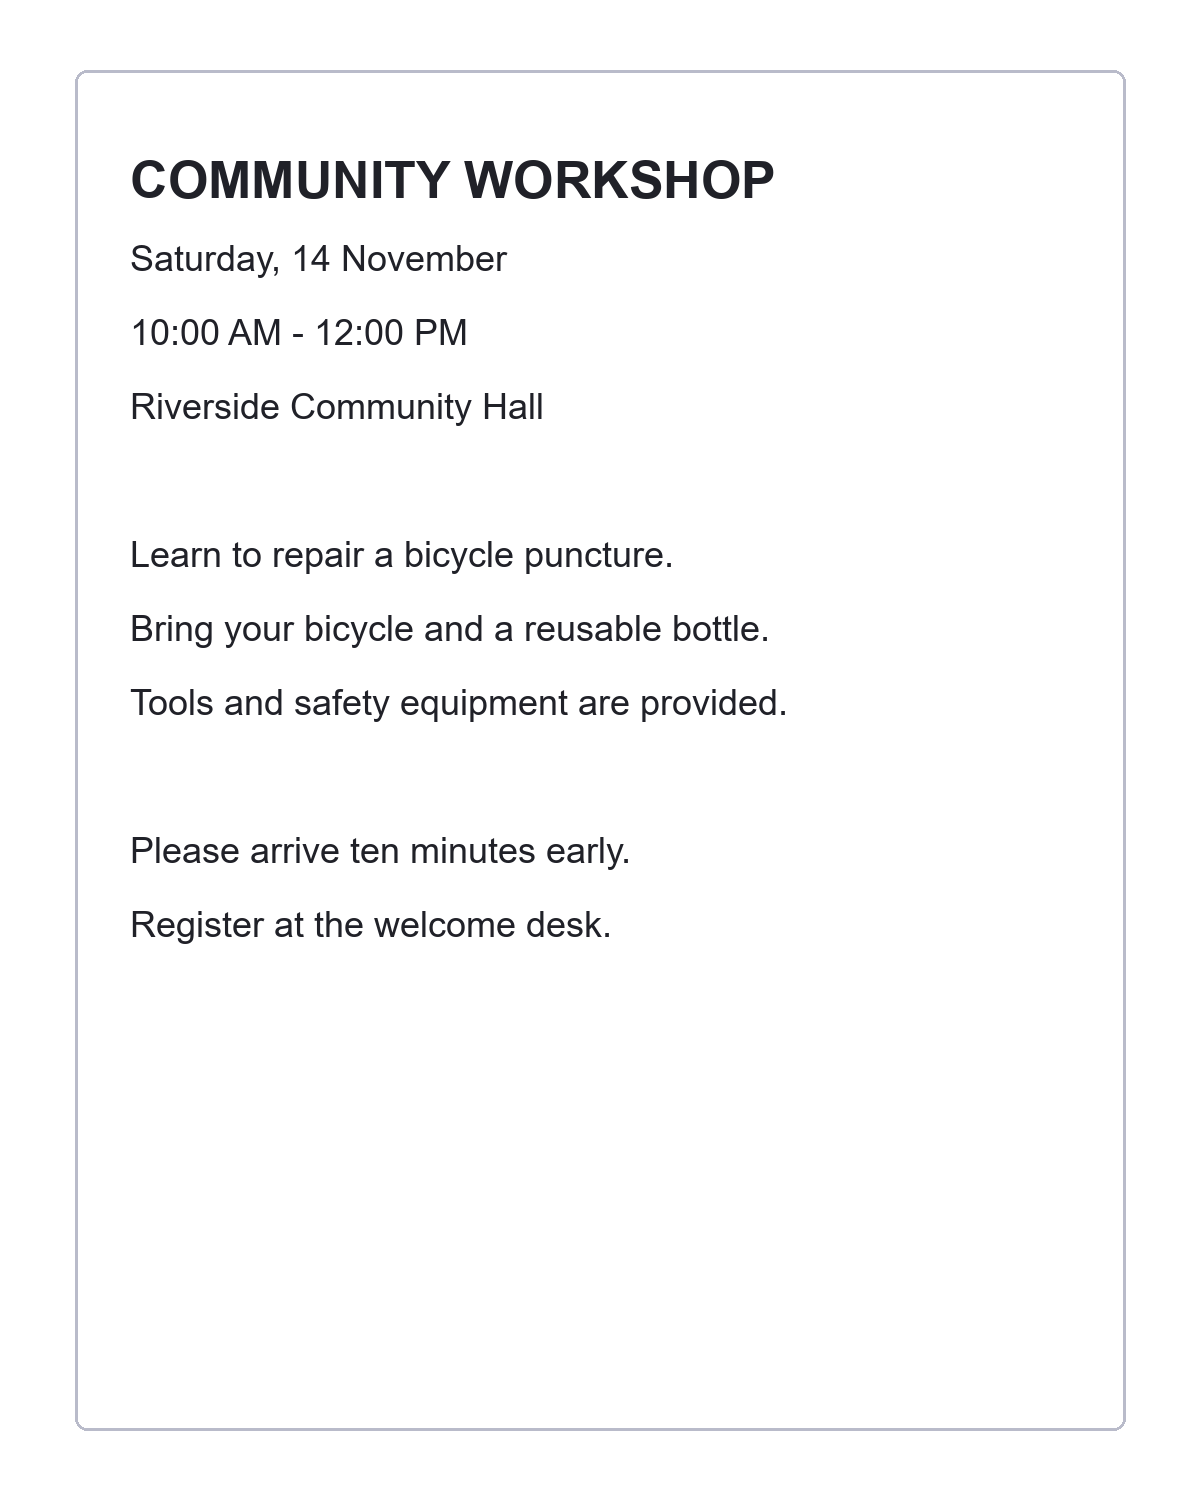
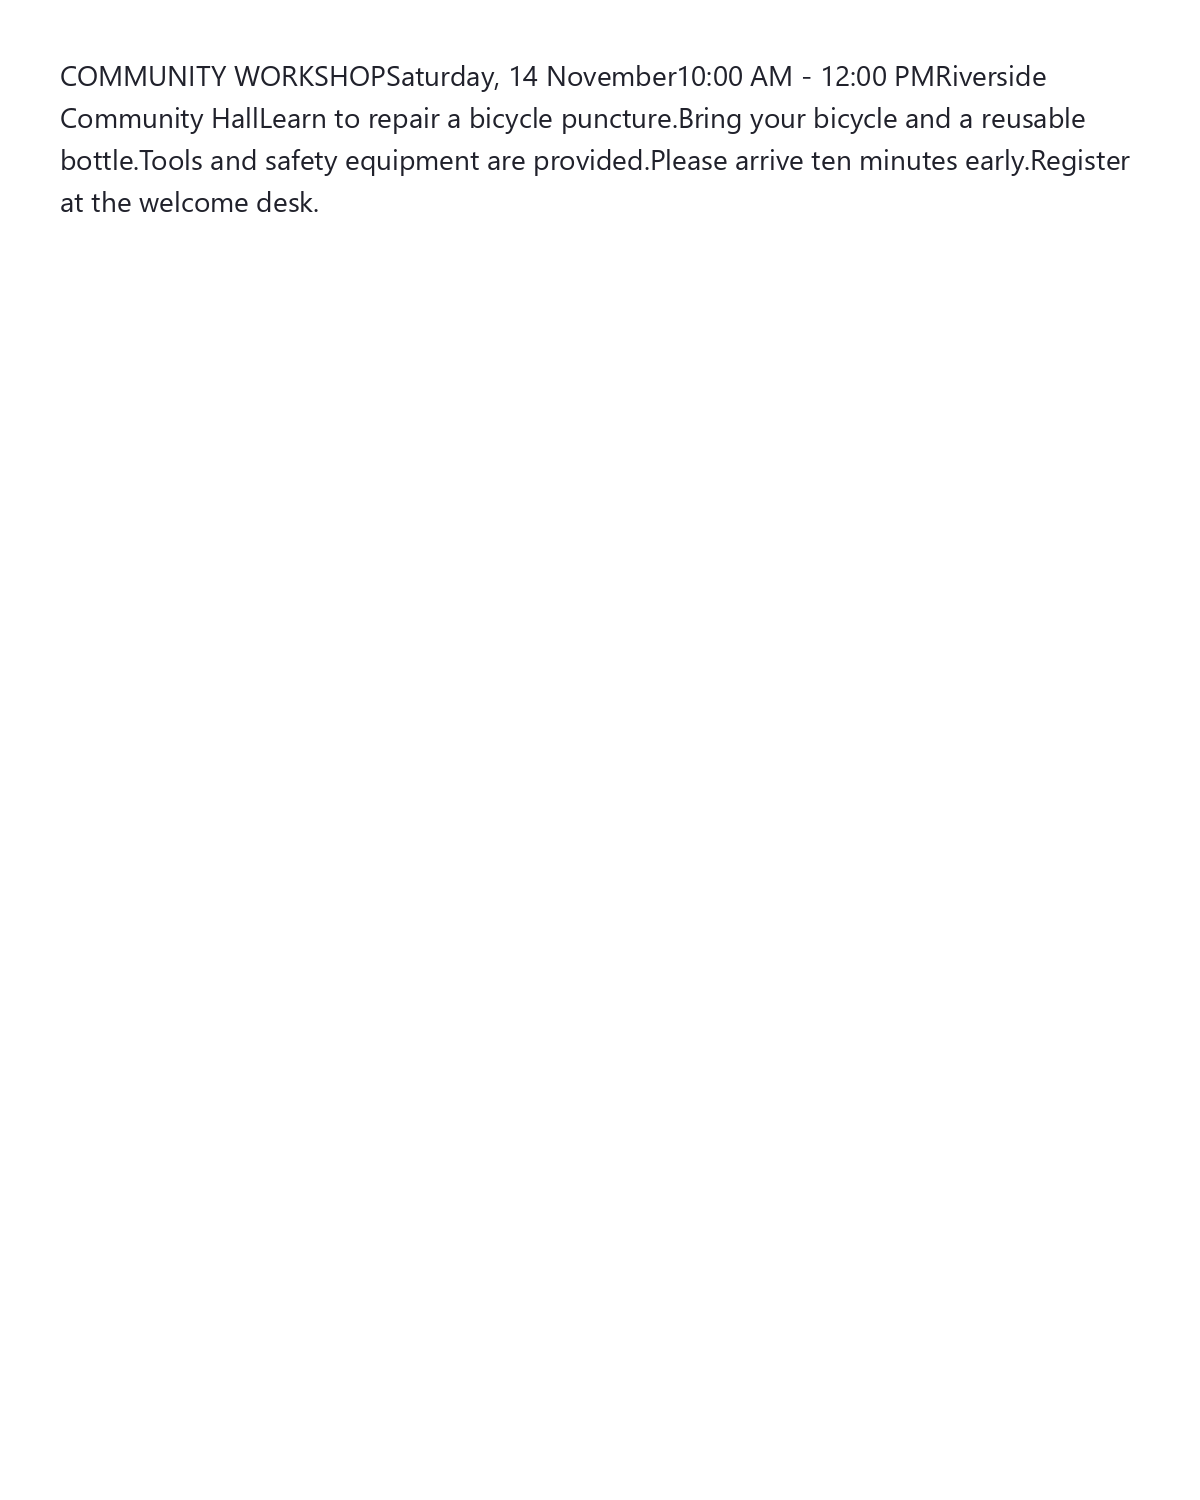

A photo of a handout is convenient to read, but an editable transcript is easier to quote, search or revise. This guide follows a public community workshop notice through Image OCR. The useful result is not just a file: it is text whose date, time, location and instructions have been checked against the picture.
Open the image and choose its document language
Open Image OCR. Keep English when it matches the writing, or search the list of 128 recognition languages. This is the document language, separate from the website interface language. Choosing another language opens its matching OCR page.
Upload one PNG, JPG, JPEG, TIF, TIFF, BMP, GIF, WebP or HEIC image up to 25 MB. Image dimensions and decoding limits also apply. For an animation or multipage image, Image OCR uses the first frame or page; it does not recognize the whole sequence.
Use a sharp, evenly lit source. A larger file cannot restore letters that were already blurred or cut off.
Choose the mode and the area to recognize
Choose Classic or Future where available. This example uses Classic for a straightforward printed English notice. Its Single column setting suits the notice; use Multiple columns when the selected source really contains several text columns.
Draw or resize the recognition box when you want one passage. Include complete words and a little space around the lines. A focused selection can avoid a second column, unrelated caption or stamp. Leave the whole image selected when all of it is needed.
If the source needs preparation, open the image enhancement controls and compare brightness, contrast or cleanup with the original. Excessive cleanup can erase pale information. For a badly framed or tilted image, the separate crop and deskew tools can help prepare a new source.
Crop a document image · Straighten tilted text · Clean up a scan carefully
Click Start and compare the recognized words
Click Start and complete the verification prompt. Opening the image preview does not itself run OCR. The recognition request processes the current image or selected area; another area needs another request.
On the result screen, compare the text with the source image. Zoom in on uncertain letters and correct the transcript directly. For the workshop notice, check the event date, start time, venue and registration instruction rather than relying on spelling alone.
Names and reference numbers can look plausible even when one character is wrong. Read them against the image. Also check reading order, punctuation and words broken by line-ending hyphens.
Choose a download and keep the right version
Copy the current text or select TXT, Word or PDF for download. TXT is plain text. The main Word file contains editable text in a new layout rather than a complete reconstruction of the scan. Classic's Searchable PDF keeps the selected image area with its original OCR layer; later text corrections do not rewrite that layer. Future's Simple PDF lays out the current text in a new document.
Open Smart edit for a larger editing space, formatting, character cleanup or optional rewriting actions. Download Word, PDF or HTML directly from Smart edit to keep its supported formatting. Apply Changes transfers plain text back to the main OCR result.
Correct the transcript before using Translate text. Translation uses the entire current result, up to 25,000 characters. Copy translation keeps the main transcript as it is; Use translated text replaces it. Save the source wording separately when you need both versions.
Image OCR questions
Can I use a phone photo or screenshot?
Yes, in a supported format. Avoid glare, motion blur and strong perspective distortion. Keep small text large enough to inspect and review the transcript after recognition.
Can I recognize several images at once?
This interactive workflow processes one image or selected area per request. Open the next image separately when you finish the current one.
Does OCR keep a table or page layout editable?
Not as a guaranteed reconstruction. Review reading order and arrange the text again where necessary. Main Word output uses a new text layout; a Classic Searchable PDF retains the selected image rather than rebuilding it as editable objects.
Can I try handwriting?
You can try a clear source, but connected writing, crowded lines and unusual letter shapes can be difficult. Review every important word and do not assume the result is accurate.
Make your next image easier to use
Start with a clear source, recognize the words you need and save a checked copy.