
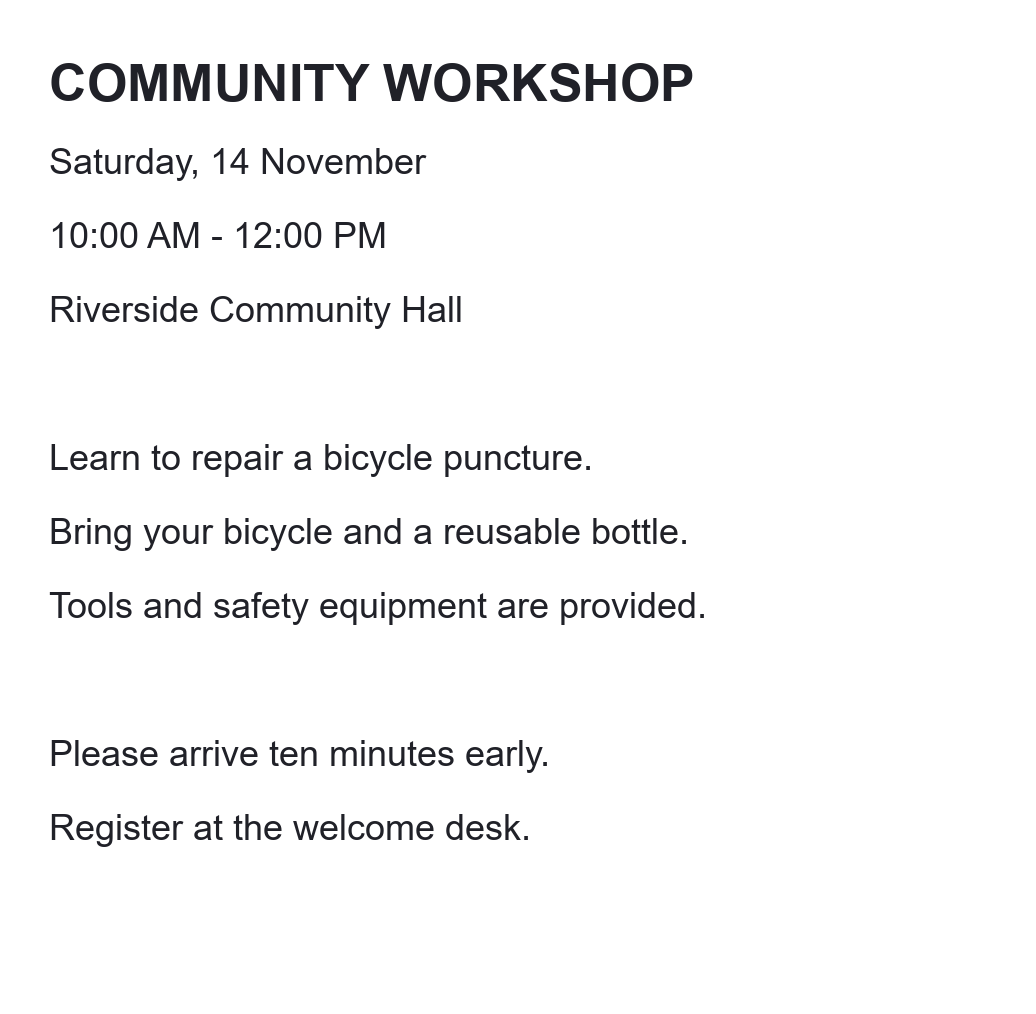

A photograph of a notice often includes more than the notice itself: a desk edge, a wall or a wide blank border. Cropping gives that useful content its own image. This walkthrough uses a public workshop notice, with the aim of keeping the information readable rather than filling every corner of the frame.
Open the original image
Open Crop Image and choose Upload Image, or drop your file into the upload area. Use the original photo or scan when available; repeatedly saving a compressed copy cannot restore missing detail.
The tool accepts one PNG, JPG, JPEG, TIF, TIFF, BMP, GIF, WebP or HEIC file up to 50 MB. If it contains several frames or pages, use the frame navigation to choose the one you need. The downloaded result will be a still image of that frame.
Place the crop around the subject
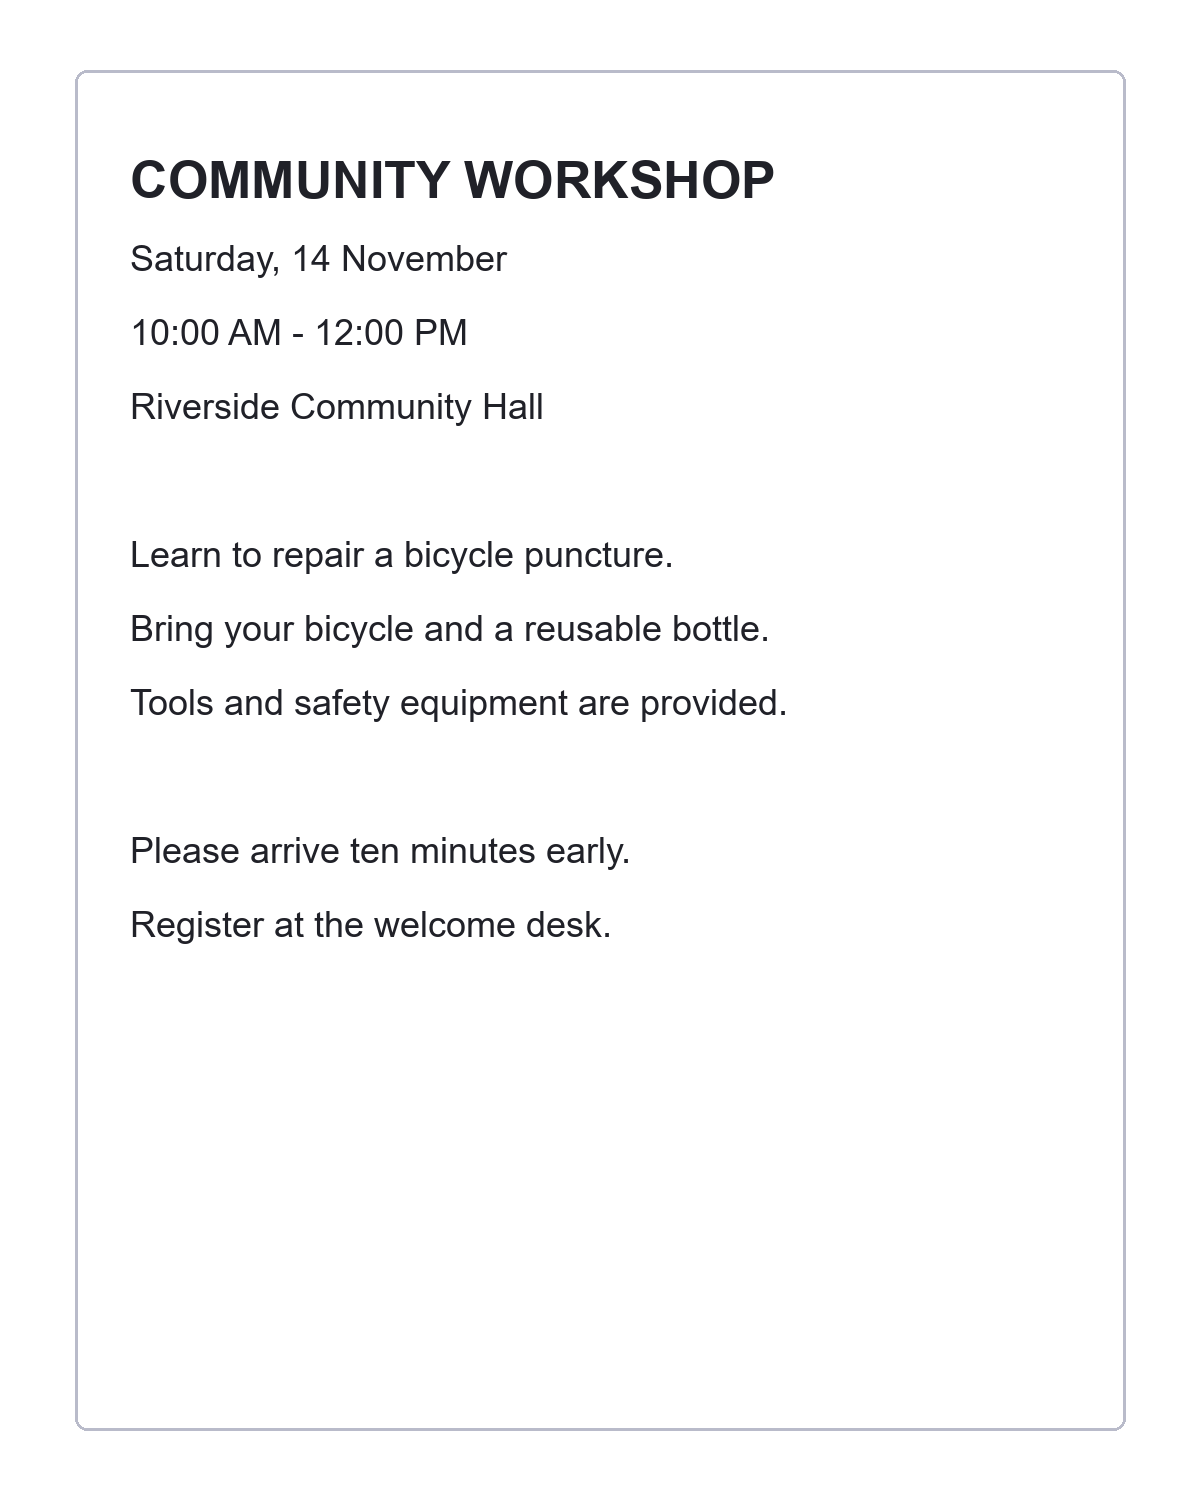
Drag and resize the selection around the workshop notice. Include the heading, event details and final instruction. Watch the pixel dimensions as the selection changes; a tighter crop creates a smaller image rather than enlarging the text.
Keep Free selection for an irregularly sized document. Choose Original ratio when you want the same proportions as the source, or use a preset such as 1:1 for a square. A ratio controls the shape of the crop, not the shape of the letters.
In the recorded example, the crop keeps a 1,036 by 1,014 pixel area of the notice, including its heading, event details and final instruction. Use your own content boundaries rather than copying those dimensions onto another image.
Select whole image restores the full frame if the crop becomes too small or difficult to position.
Inspect every edge before processing
Check all four sides, especially punctuation, accents and the last line. A crop that looks tidy from a distance may cut off a date or the end of a long address. Leave a little breathing room around the text.
For a sloping page, straighten it with Deskew Image and inspect the new crop again. Cropping cannot flatten perspective or make blurred characters sharp. If your source contains two facing pages and you need both, split the image instead of discarding one side.
Choose a format, click Crop Image and download
Keep PNG for a lossless image that can retain transparency. Lossless WebP is another option. JPEG is saved at its highest quality setting, but still uses lossy compression and fills transparent areas with white.
Click Crop Image, review the result and choose Download. Keep the original separately so you can make another crop later. If you need the notice as editable text, continue with the cropped image in Image OCR and review that recognition result against the picture.
Crop Image questions
Will the crop keep transparency?
PNG and lossless WebP can keep transparent pixels. JPEG uses a white background where transparency was present.
Does the A4 preset create a printable PDF?
No. It sets the crop proportions. The result is an image; the preset does not create a PDF or choose a physical paper size.
Can I crop every frame in one download?
This workflow exports the selected frame only. It does not save a complete animation or all pages of a multipage image.
Give the useful part its own image
Choose a careful crop, check the edges and save a separate copy.