
Mobile capture
Collect paper handouts
Turn a few photographed pages into one reading document.


Build a PDF from document photos. Capture or import pages, adjust the four corners, review the cleanup and arrange the result before creating one reading copy.
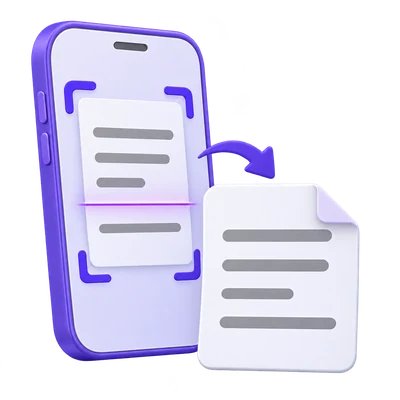
Scan with your phone or choose photos. Turn notes, receipts and documents into a clean, ordered PDF.
JPEG, PNG, WebP · Up to 30 pages · 20 MB per photo
Check the page, then add another or create your PDF.
Review each page before exporting.
Your pages are combined into one PDF. Keep editing or download another copy.
Open Scan to PDF and choose the photo files, or use the camera option when available. Include the whole page and avoid glare across the writing.
Switch to the corner-editing view and place each point on the page boundary. Review the corrected preview, especially text near the corners.
Choose Create PDF, download the result and compare it with the original. Use Image OCR directly when you only need text from one original photo.
Build a PDF from document photos. Capture or import pages, adjust the four corners, review the cleanup and arrange the result before creating one reading copy.
Turn a few photographed pages into one reading document.
Review page order and margins before sharing.
Correct perspective while retaining useful annotations.
Import supported photos or use the available camera controls.
Keep the camera steady and the whole page visible. Even lighting and a camera roughly parallel to the paper reduce problems that later adjustments cannot fully repair.
Camera capture requires browser permission and device support. Importing a photo is an alternative when direct capture is unavailable.
Correct a photographed page that narrows toward one end.
Move the corner points to the actual page boundary. The four-corner correction straightens converging edges rather than merely cutting a rectangular box from the photograph.
Keep complete letters inside the frame. A curled book page or motion-blurred photo can remain difficult even after the outer corners look square.
Compare color, gray and monochrome treatments with brightness and contrast.
Use the filter that suits the document. Keep color when annotations or highlighting matter, and inspect small writing before choosing a monochrome result.
Adjust the current page, then apply its style to other pages only when appropriate. Different lighting across a photo collection can require separate review.
Set the order, paper size, margins and output quality.
Arrange the pages before creating the PDF. Choose A4, Letter or a page fitted to the image, then select a margin and quality level.
The resulting pages are images. Use PDF OCR for recognition afterward, or send an original single photo directly to Image OCR when a PDF container is unnecessary.
Use up to 30 JPEG, PNG or still WebP photos, at most 20 MB per photo and 200 MB combined. Browser decoding limits also apply. Photos are normalized to a maximum 2400 px longest edge before editing and PDF creation.
Images are resized to a maximum long edge of 2400 pixels. The PDF contains page images, not OCR text. Always review automatic edge suggestions.
Photo editing and PDF creation run in the browser. Camera capture requires your permission. If you choose paired-phone transfer, the transfer uses the server relay.
A few useful details before your first scan.
Browser editing · encrypted transferNo. It creates a PDF containing page images. Use PDF OCR afterward, or Image OCR for an original single photo.
Adjust the four page corners to correct perspective. This can straighten converging edges, but cannot reliably repair blur or a curved book surface.
No. Photos are normalized to a maximum 2400 px longest edge and encoded as JPEG during preparation. Keep originals when maximum detail is important.
Photo editing and PDF creation run in the browser. If you choose the paired-phone transfer feature, the transfer uses the server relay. Camera access also requires your permission.